Quick Start Guide to Site Visualizer
Core features video:
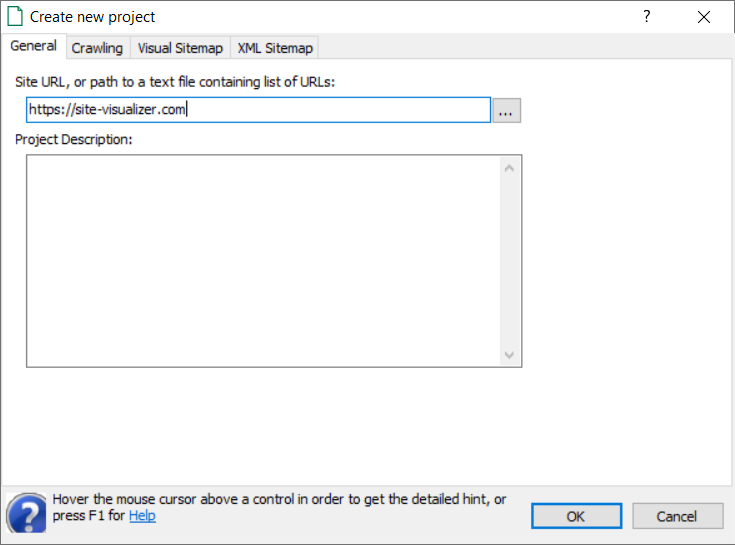
To start crawling a website's pages and links, you should create a new project. Select Project -> New in the main menu. In the Site URL text input box of the window that opens, enter the URL address of the website to be crawled:
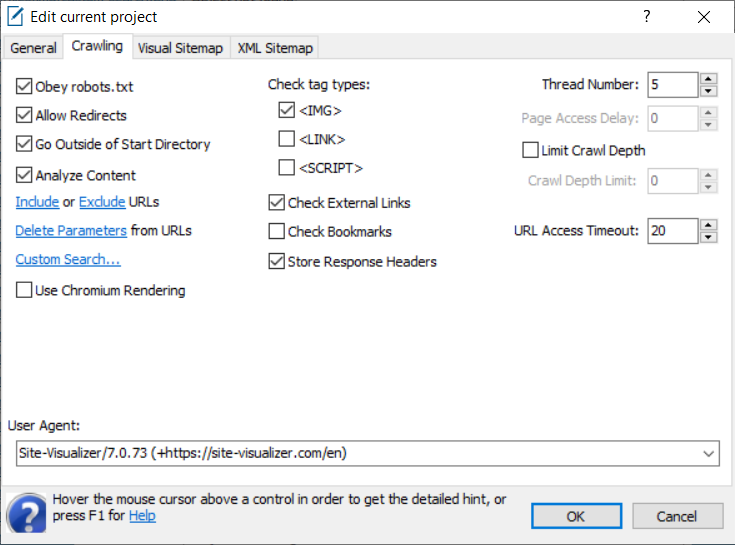
There are three more tabs containing project options:
- Crawling – options related to website connection: speed, access timeout, user agent, robots.txt respecting, tag types to be recognized as links, etc.
- Visual Sitemap – options related to sitemap drawing: page titles, link types to be drawn, and so on.
- XML Sitemap – XML Sitemap options: <lastmod>, <changefreq>, and <priority>.
To get a hint about a control, hover the mouse cursor over it. Change options as you need (or keep defaults), and then click the OK button. The window will be closed, and a new project related to the domain you've specified will be created.
Click Sitemap -> Crawl -> Start to launch the website crawling process. You also can use the Pause and Stop speed buttons to suspend or abort the current crawling process. Once the site has been crawled, the appropriate status bar message will be shown.
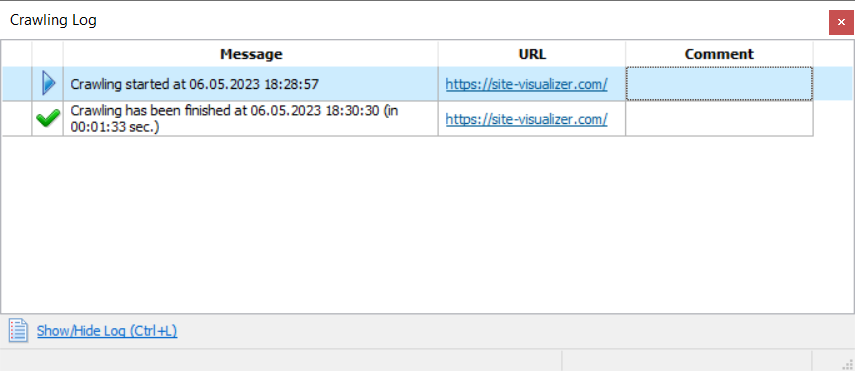
If an error occurs during the crawling process, the log window containing the error message, source URL, and the exact error data will appears:
Yon can hide or show the log window with Sitemap -> Crawl -> Show Log command, or Ctrl+L shortcut. Right-click on the log table to invoke its context menu.
It's recommended to open the log after current crawling is complete in order to explore messages and fix possible errors on your website.
Pages and Links
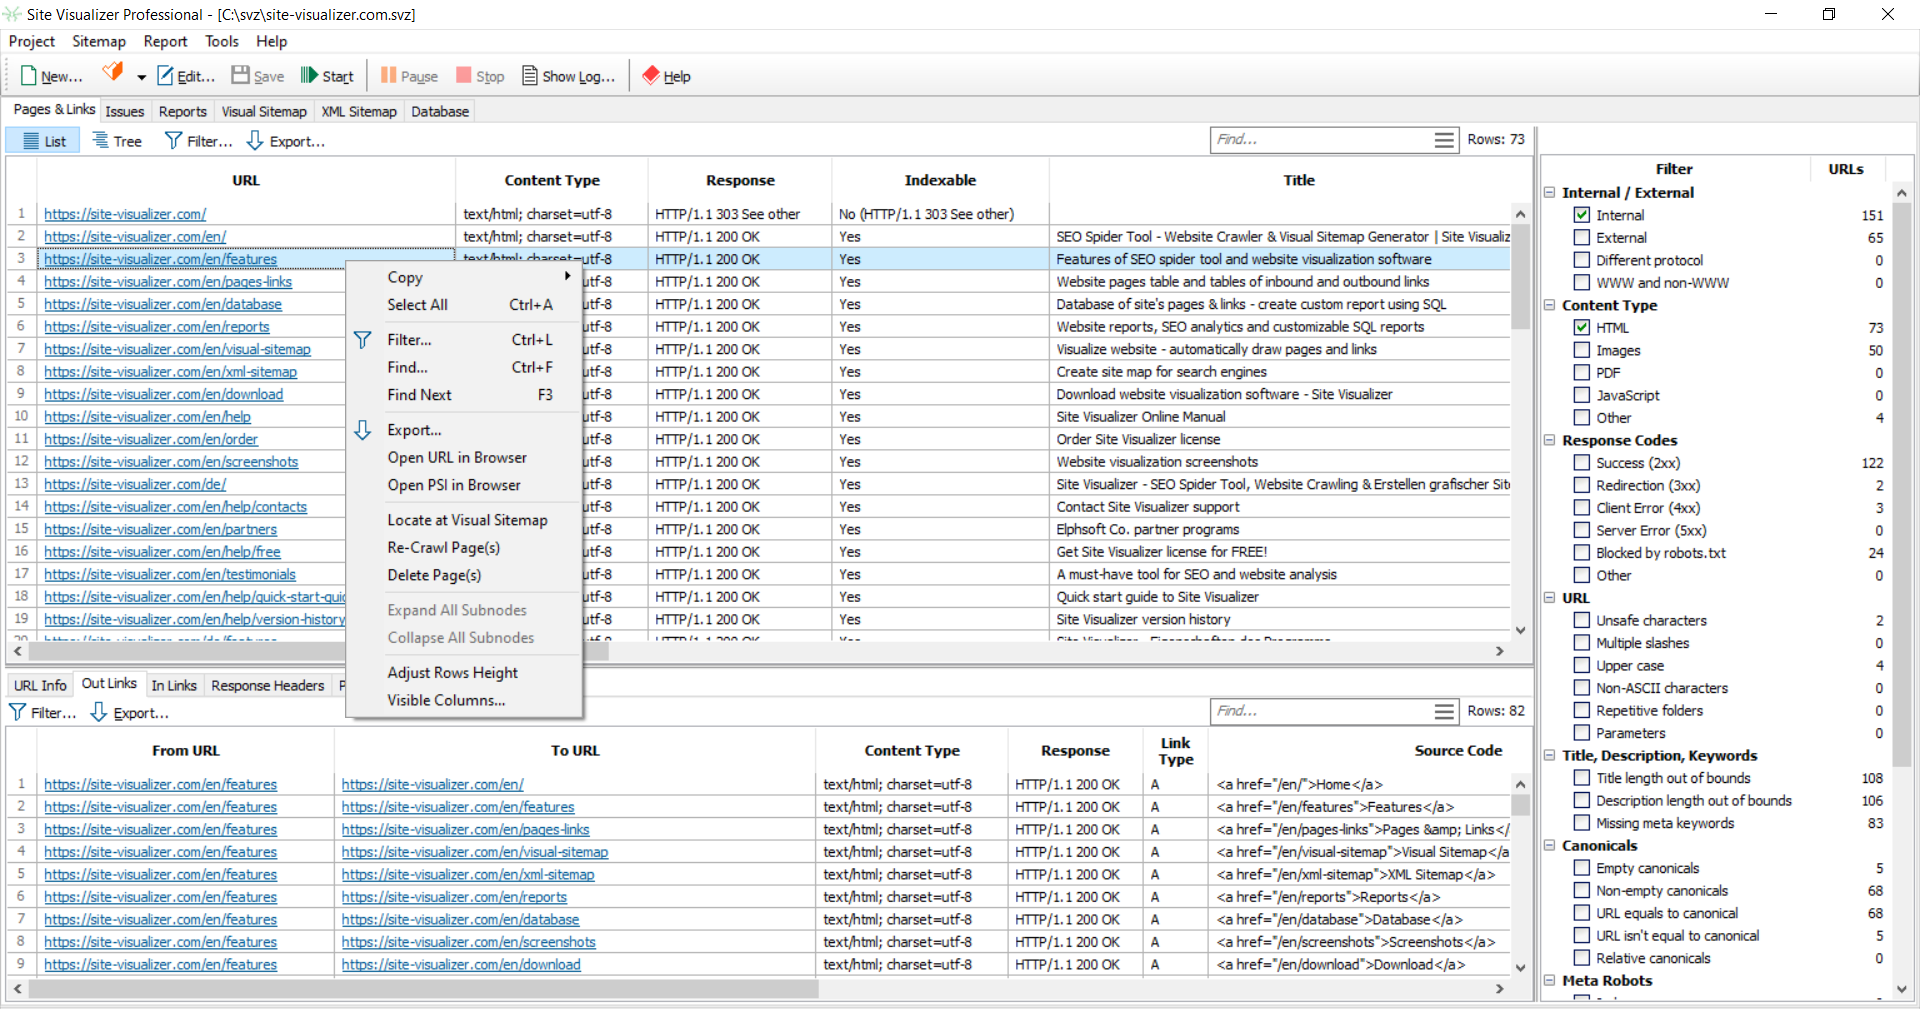
The Site Visualizer main window consists of two tables: website's pages (at the top of the window) and links (at the bottom). To see a page's outbound links, click on its row (or use the arrow keys to move from row to row). To see the current page's inbound links, click the In Links tab of the links table:
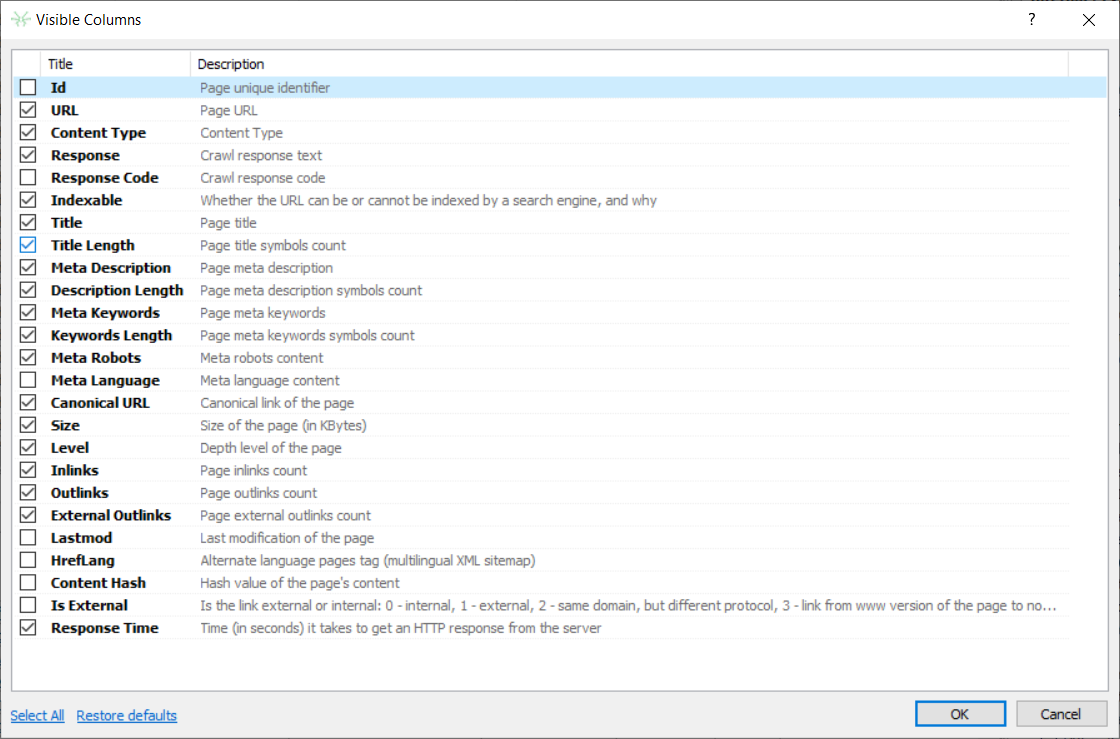
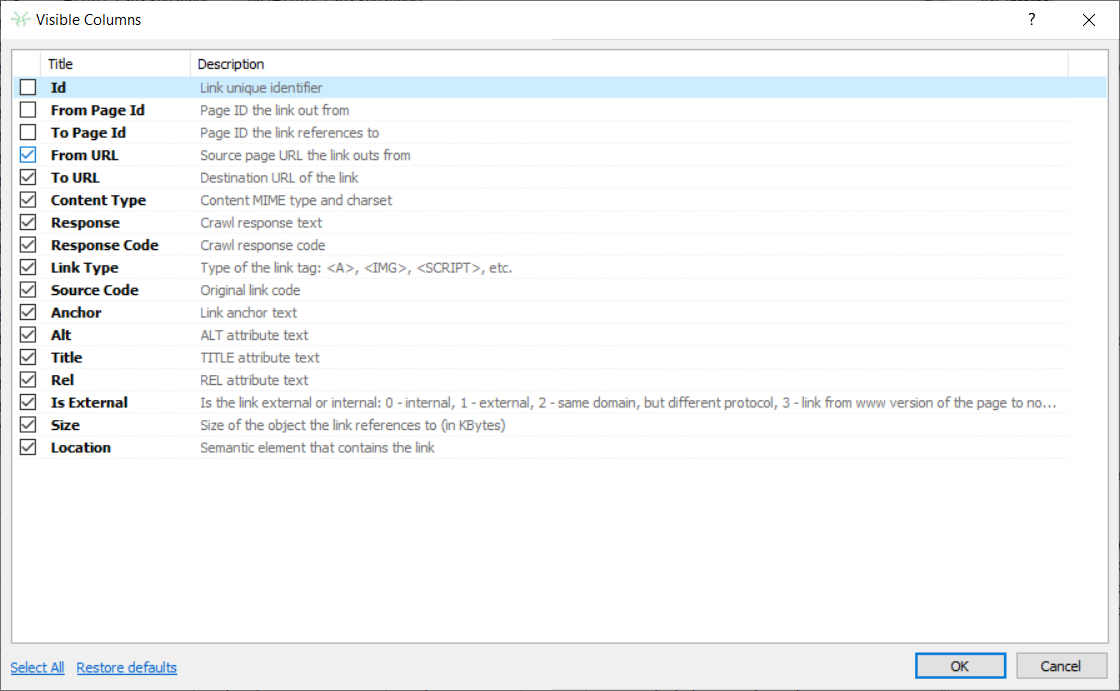
To hide or unhide some additional columns, right-click the pages (or links) table, and then click the Visible Columns... popup menu item. Check or uncheck columns as you need, and click the OK button:
If you want to export pages or links data to an external application such as MS Excel, select the rows that you need. To do that, you can use the mouse or the arrow keys, as well as the Ctrl or Shift keys; you can also use the Select All command. Then use the Copy -> Copy Row(s) command in the context menu. After that, you can paste the data to an Excel sheet or another program.
To export any table of Site Visualizer to an MS Excel or CSV file, click Export... command of the table's context menu. In case of CSV, choose the destination file name and a value separator (e.g., comma, semicolon, or any other) in the dialog appears, then click OK button.
The Find dialog is also available from the context menu (or Ctrl+F shortcut). In the dialog appears, check column names to be searched, then type a text to find and press F3 shortcut.
Visual Sitemap
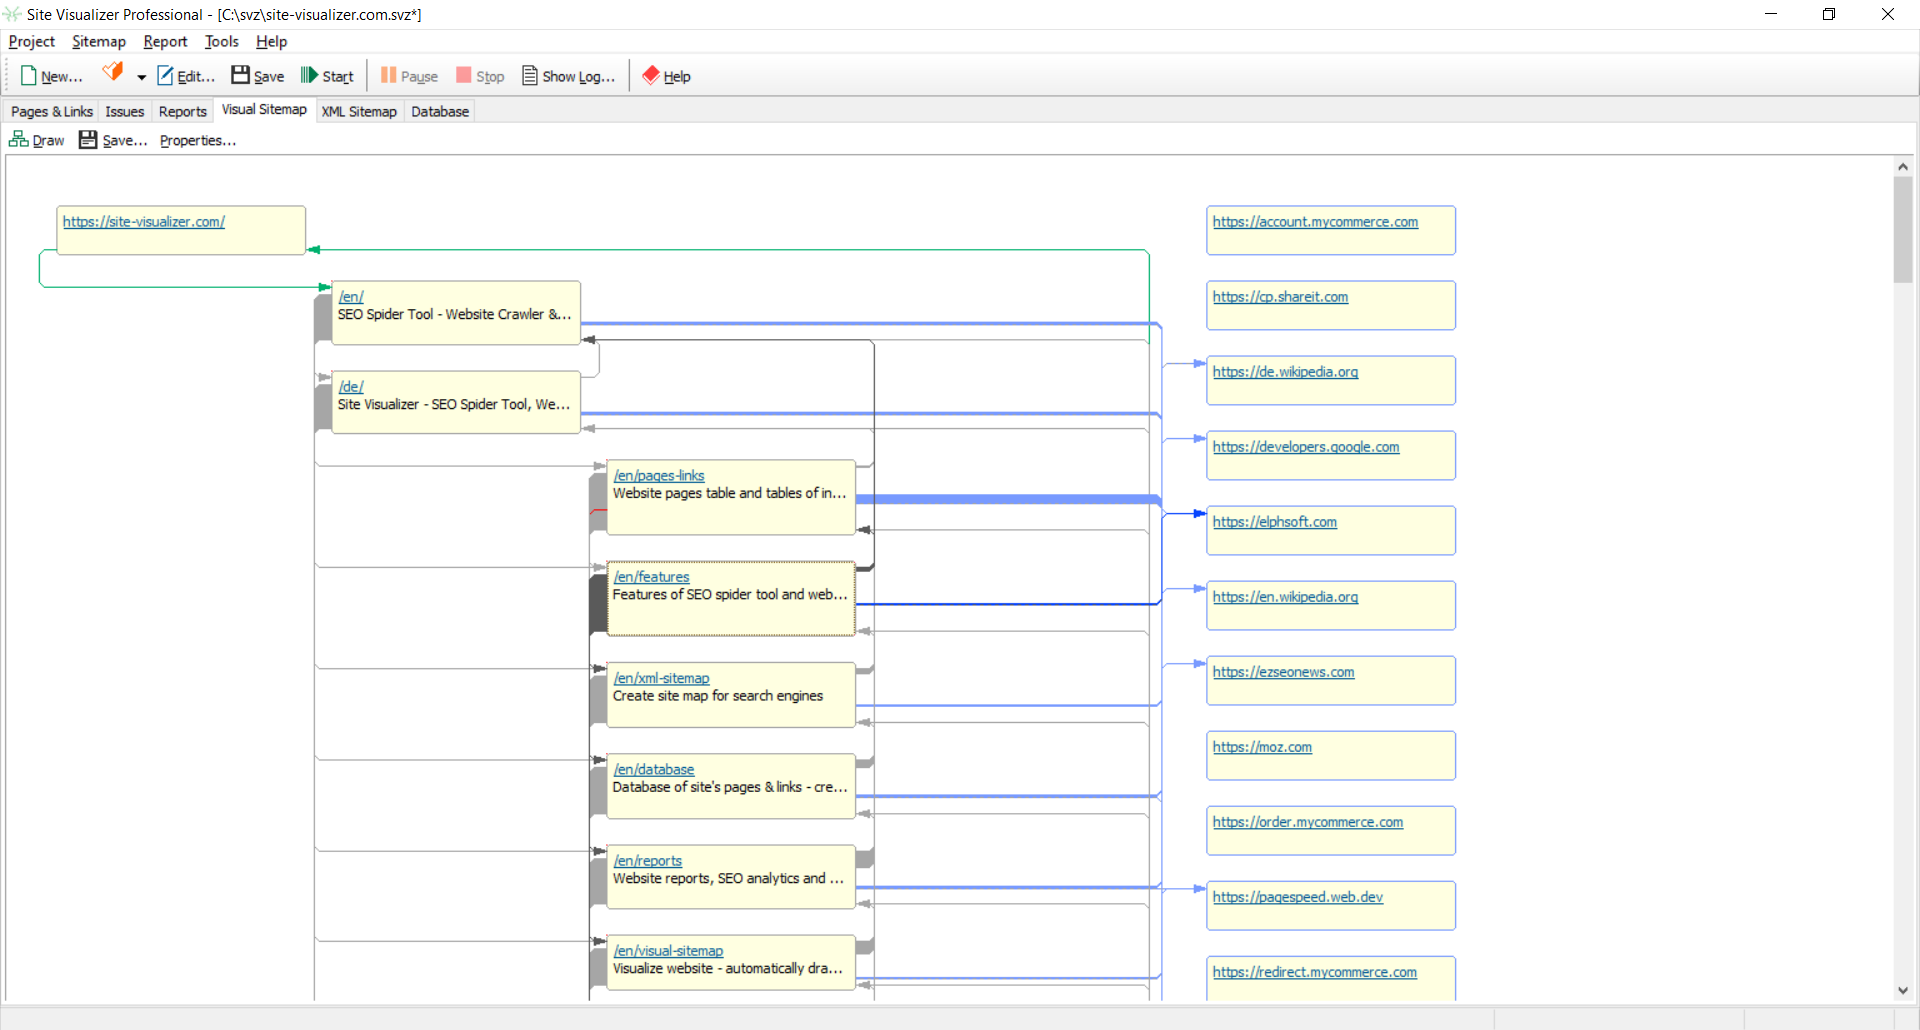
The next tab of the Site Visualizer main window lets you create a visual map of the website. Click the Draw button to draw the current site as a set of pages and links – inbound, outbound, and self links:
You can adjust visual sitemap parameters via the Edit current project dialog window, as described in the Project -> Visual Sitemap topic.
To highlight all outbound links to other pages, click a page rectangle. If you'd like to save the visual sitemap to an image file, use the Save button.
XML Sitemap
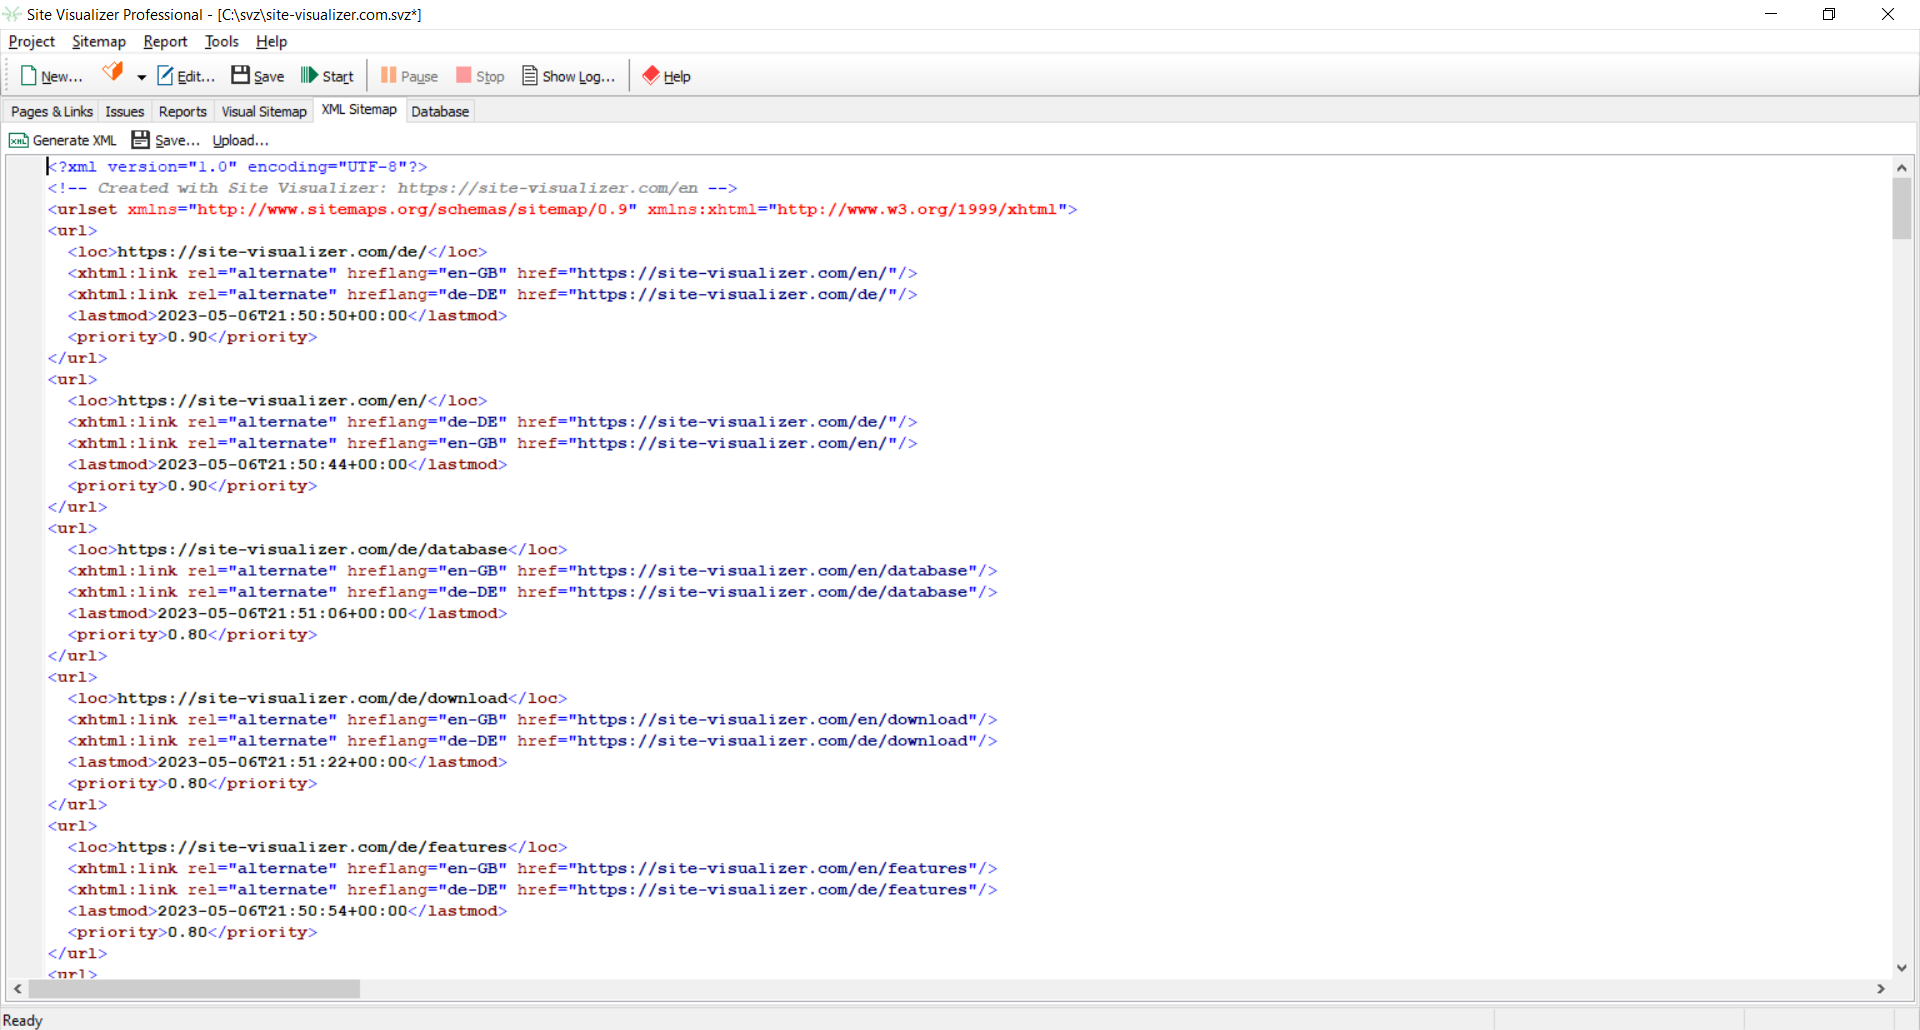
This tab contains the XML sitemap of the current site:
You can configure sitemap options via the Edit current Project window, just like with a visual sitemap. To save the sitemap to an *.XML file, click the Save button.
Reports
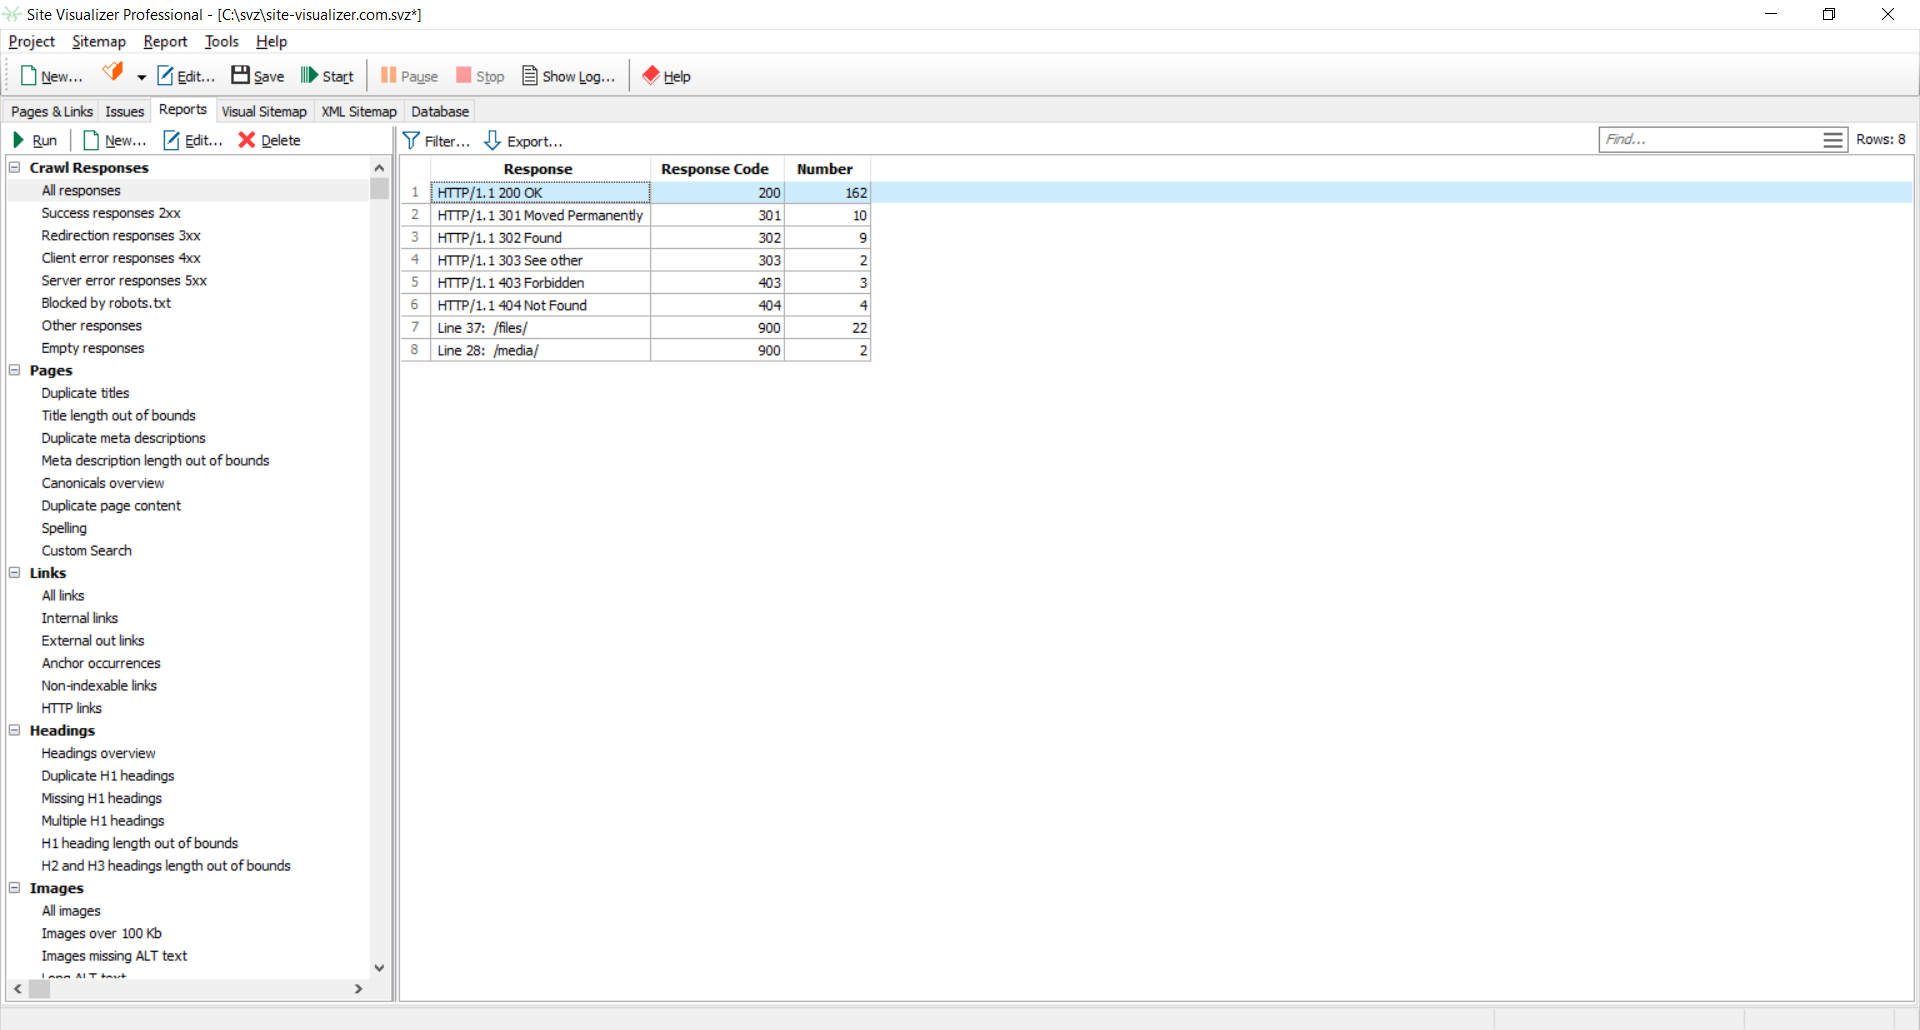
This tab contains predefined reports. To execute a report, double-click it. After the report's execution is complete, you'll get the resulting table:
You can export the report data in the same way as described above.
To view the SQL text, use the Edit... command of the report context menu. It's very helpful when you need to create a custom report or understand how a report works.
Database
Sometimes there is a need to get some analytic data that is unavailable in the "standard" reports. You can do that via the Database tab of the Site Visualizer main window.
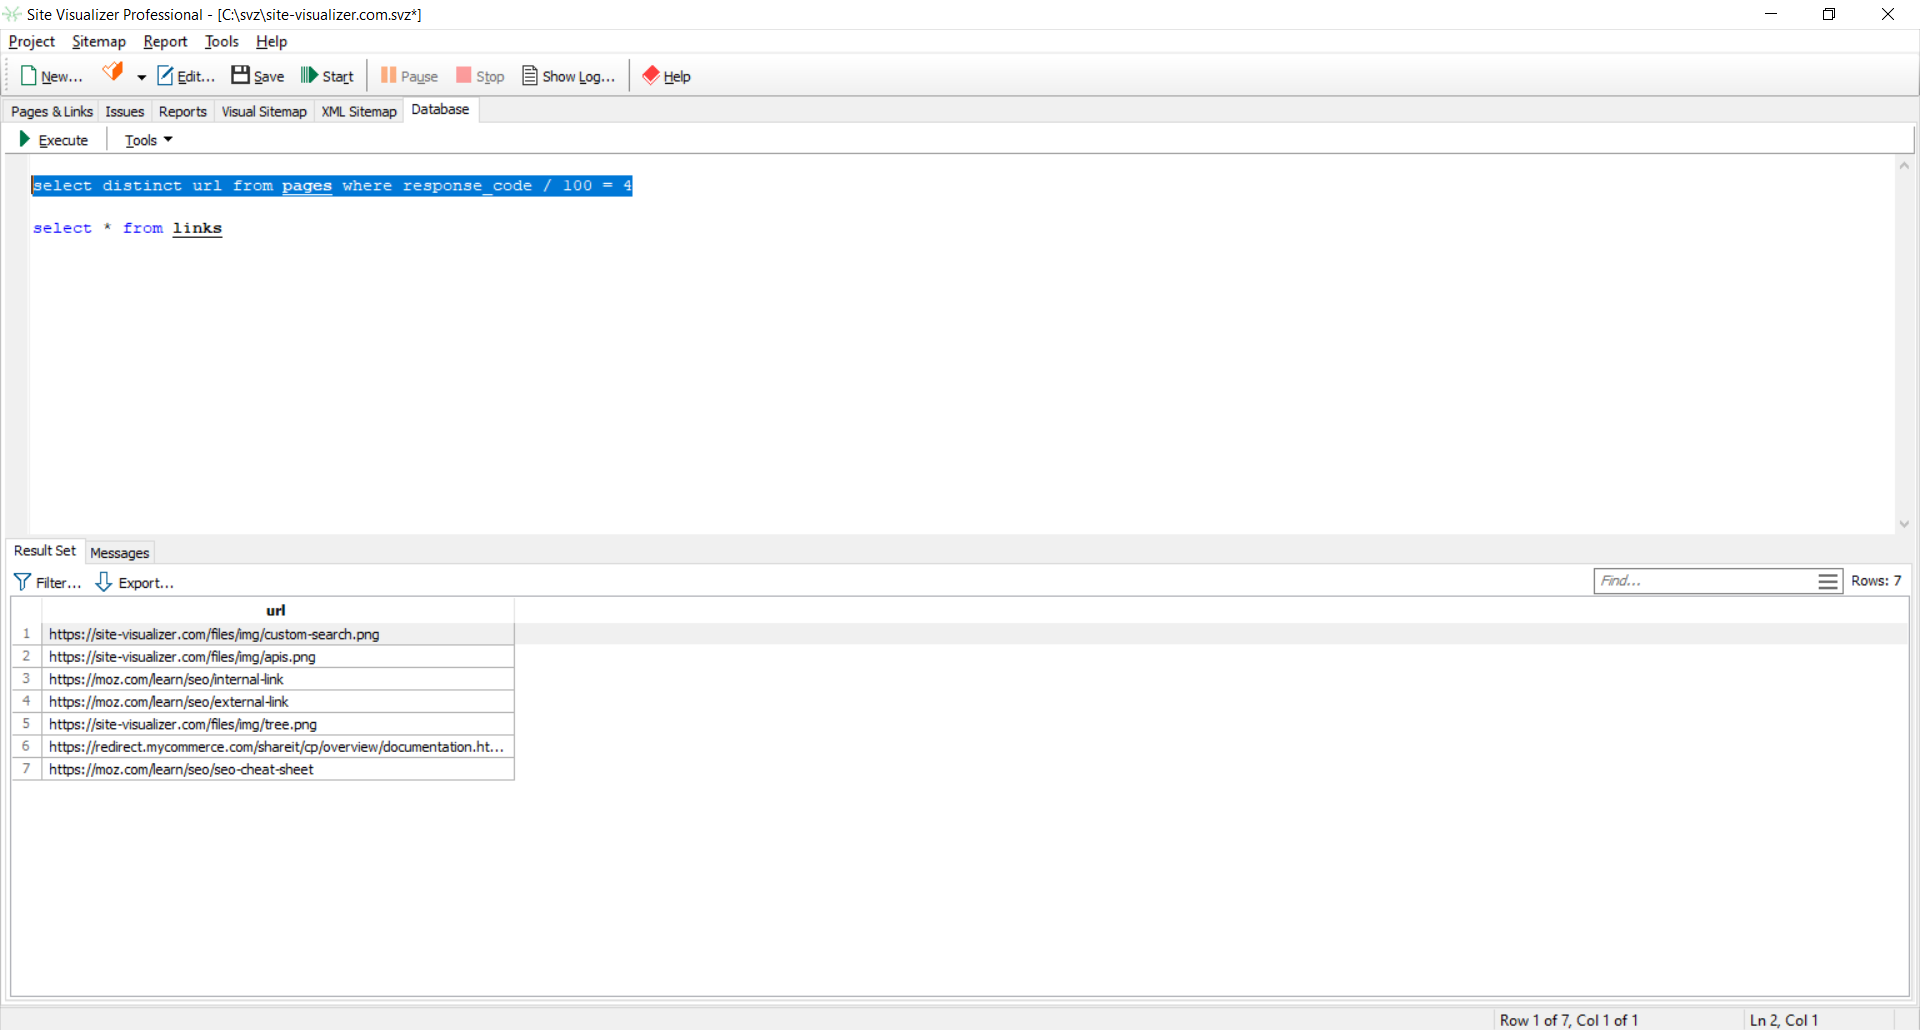
Enter an SQL text in the upper part of the window. It can be a whole custom report or just a single SQL query:
You can find the detailed database structure and the description of table fields on the Database page.
Select a query text that you need to run, and click the Execute SQL button. The result set will be shown in the lower part of the window. SQL errors (if any) will be shown on the Messages tab.
You can also export the resulting data as described above.
Other manuals
Highly-recommended Tutorial on Site Visualizer Pro by Andy Williams
